Bridge Upholstery and Drapery made these fun and colorful pillows for our client’s daughter’s bedroom.
Reupholstery of Living Room Furniture | Custom Home on Table Rock Lake
I bet you thought we were taking the summer off, right? You pictured us floating in the lake, soaking up the rays. But in reality, we’ve been hard at work reupholstering a house full of furniture for our client’s beautiful home on Table Rock Lake.
The home was inspired by the Buffalo Bar at Top of the Rock and was skillfully built by Woodstone Builders. The living room has hand hewn Amish beams that are curved to mimic the inside of a wine barrel. The entry has brick and stone vault ceilings and there are beautifully distressed pine floors throughout. The home has a cozy, traditional feel that is reflected in the fabric choices and upholstery details.
Our client has a great eye for finding estate sale treasures. Much of the furniture was purchased at estate sales in our client’s previous home state of Michigan. She initially brought us photos of the furniture and we worked with her to find the right combinations of fabrics and embellishments to give this quality furniture a face lift.
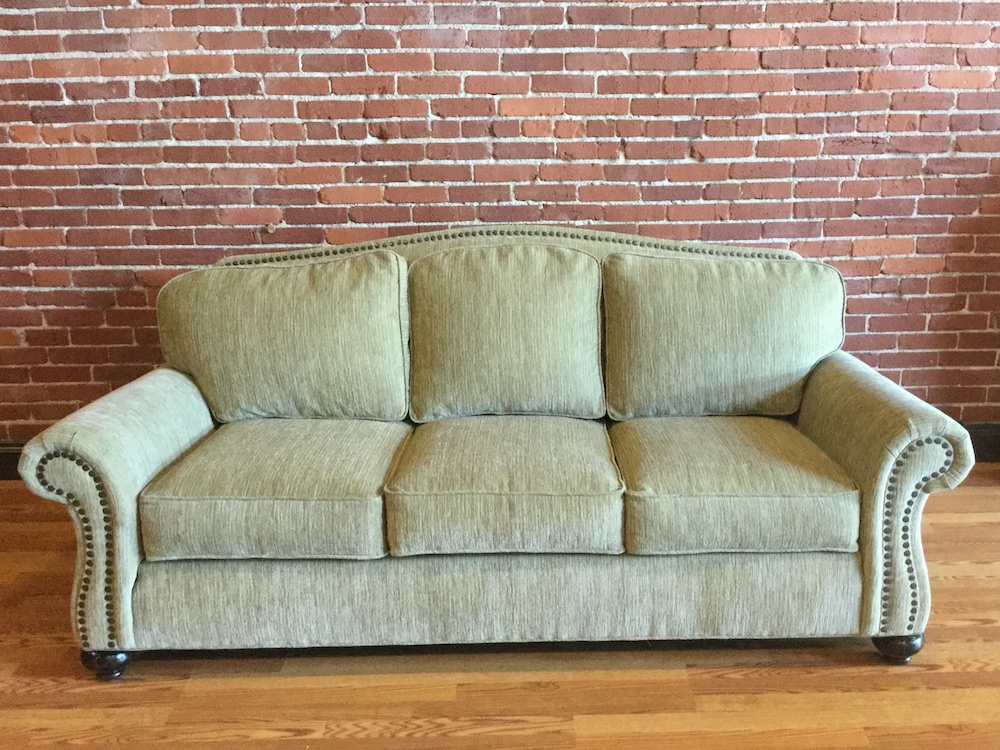
Living Room Sofa
We really gave this sofa an update. We recovered it in Caledonia Sage Fabric by Luxury Fabrics. We added distressed hammered nickel upholstery tacks and refinished the feet to a rustic walnut to coordinate with the distressed pine floors.
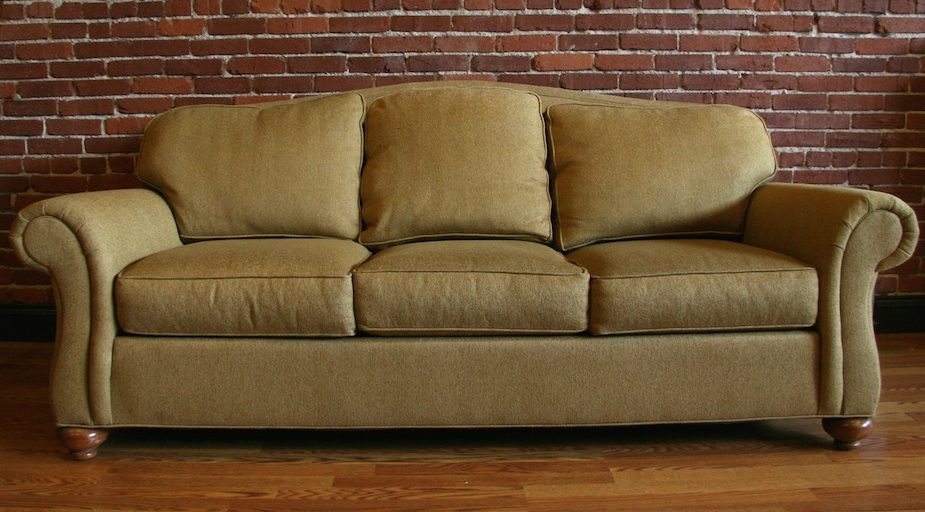
Here’s a photo of the sofa before:
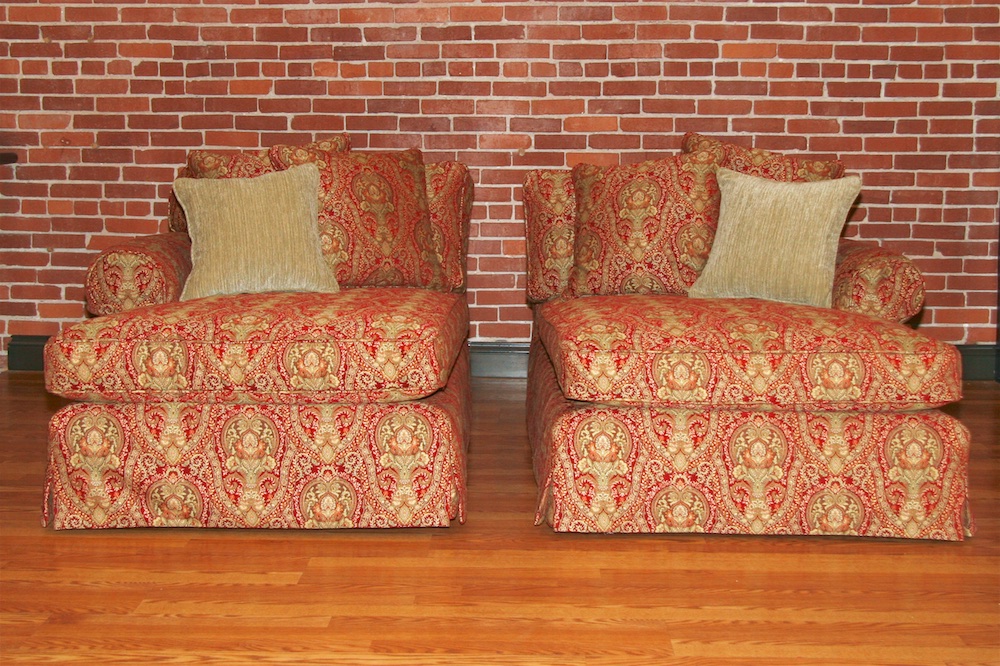
Left and Right Chaises
These chaises turned out beautifully. We recovered them with Duralee Crimson fabric in pattern 15567. We enjoyed working with this tapestry and matching the pattern from the top to the bottom of the chaises. These chaises truly were a labor of love and will be a cozy spot for our client and her two puggles for years to come.
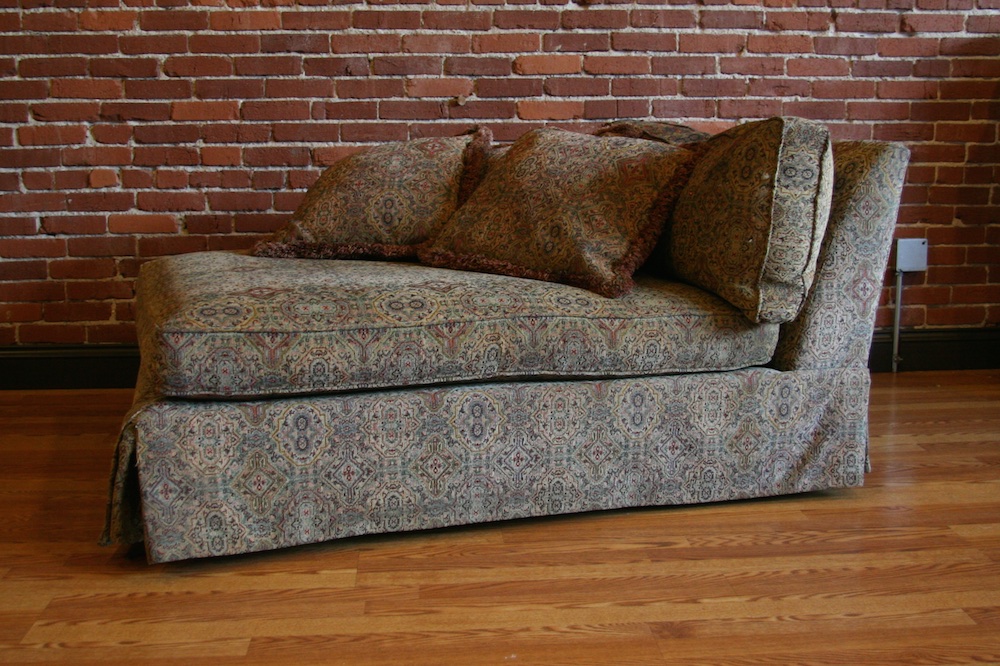
Here’s a before photo of one of the chaises:
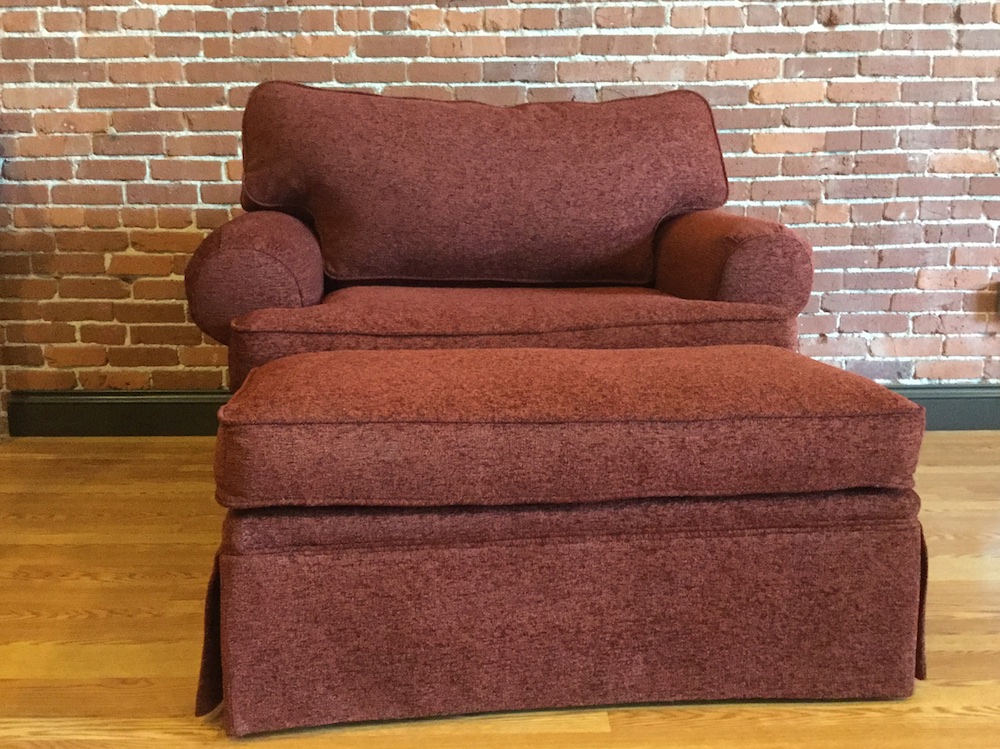
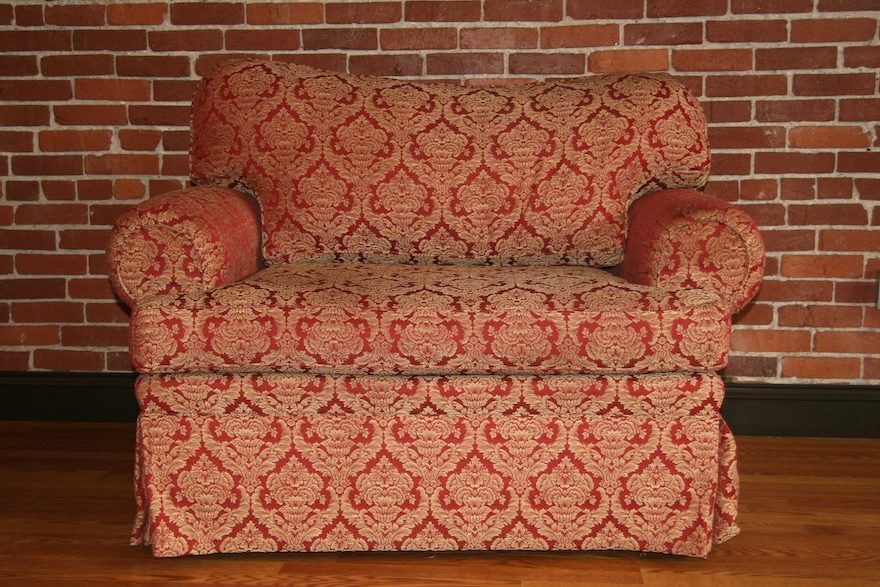
Double Chair and Ottoman
Our client affectionately refers to this chair as Big Momma. She (Big Momma) and her matching ottoman were recovered in Brilliant Burgundy by Luxury Fabrics.Here is a before photo of Big Momma:
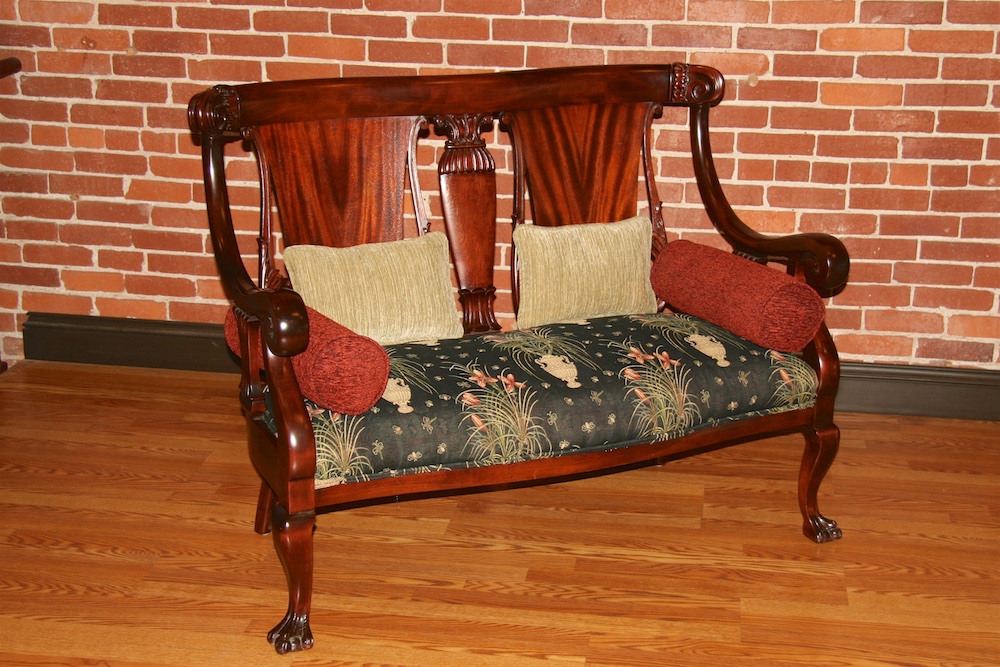
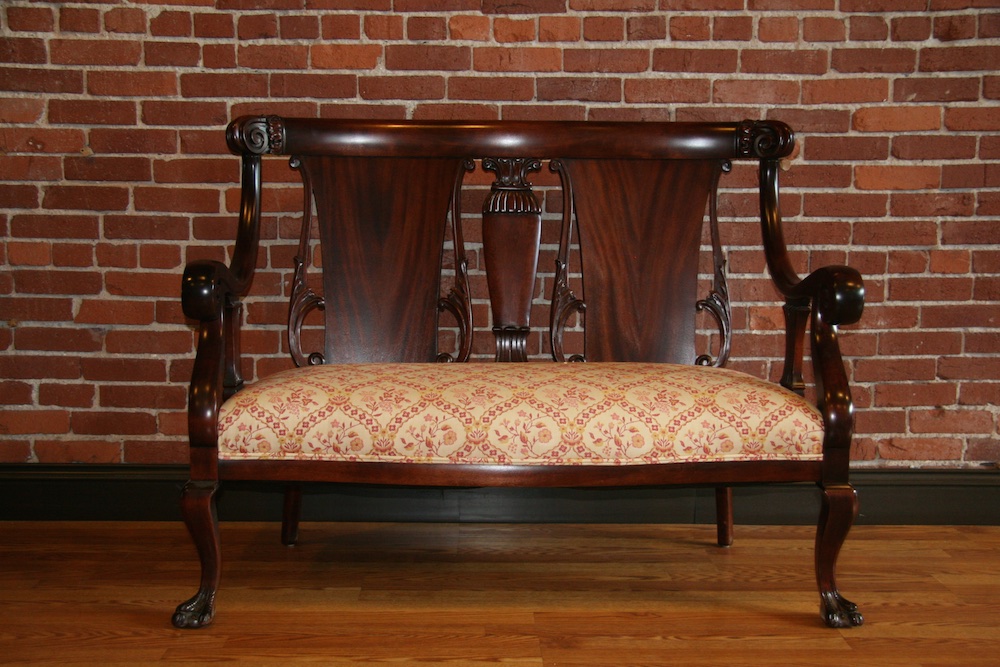
Foyer Bench
We updated this foyer bench with a black floral fabric and added coordinating sage and burgundy pillows.Here’s the before photo of the bench:
Once the home is finished and our clients are settled, we’ll get photos of the furniture installed in their Table Rock Lake home. Keep watching for the final “after” photos!
If Bridge Upholstery and Drapery can help you with your reupholstery needs, please Contact Us and send us photos of your outdated upholstery for an estimate. We’ll look forward to hearing from you!
Custom Upholstery of Unique Velvet Chair and Creation of Matching Ottoman
Initial Chair
Our client contacted us a few weeks ago about reupholstering this chair that she bought at an estate sale. It was a well made chair from a well travelled original owner. The chair was originally upholstered in gold velvet and had seen better days.
Design and Fabric Choices
Our client brought the chair to the shop and began looking through fabric samples. She planned to use the chair in her Master Bedroom and wanted a soft velvet. She also wanted to tie in some red from the existing bedding and draperies. She chose to use a cream velvet, Kasmir’s Prive in Sandstone, on the seat and inside back of the chair, while adding color to the back of the chair with Kasmir’s Holly Grove Bejeweled fabric.
To update the chair further, our client chose to forego the button tufting and upholstered skirt. The removal of these details gave this chair a fresh modern look.
Our client also wanted an ottoman to go with the chair so she’d have a place to sit and read in her bedroom. We built a custom ottoman frame with a curve to match the front of the chair and upholstered it in fabrics to match the chair. The resulting chair and ottoman is much like a bedroom chaise.
Finished Project
Our client truly turned this chair from trash to treasure. She had a vision for the finished chair and was very pleased with the results. This soft velvet chair and ottoman will be a cozy reading spot in her master bedroom for years to come.If you have a flea market or estate sale find that you’d like to reupholster, Contact Us at Bridge Upholstery and Drapery. We’d love to help you with your next upholstery update.
How to Miter Corners When Sewing with Tape Trim
In a previous post, Adding Trim to Your Upholstery and Drapery Projects, we discussed many uses for tape trim. This post will give you detailed instructions for mitering corners when adding tape trim to square or rectangular projects like pillows or Roman Shades.
Starting with a Mitered End
The first step when sewing with tape trim is folding your tape in a way that conceals the cut edge and makes a mitered end to be used at the starting (and finishing) corner of your design.
Before beginning to miter the ends of your tape trim, you’ll need to get your iron set to the proper temperature. Preheat your iron on the synthetic setting (Level 2 on our iron) and test it on an inconspicuous part of the tape. Make sure your iron isn’t melting your tape. If the iron isn’t sufficiently creasing your tape, you’ll need to increase the temperature until it makes a crease but be sure not to turn it up so high that you melt your tape. An iron will really help you as you miter your tape trim corners. It will not only help you keep your tape folded to your design, but it’ll give you better looking results too.
Step 1. Fold under the tape at a 45 degree angle, leaving a 1/2 inch tail sticking out of the side of the tape. Press the fold with an iron.
Step 2. Fold down the top of the tail like you’re making a paper airplane. Press the fold with an iron.
Step 3. Open up the fold you made in Step 1.
Step 4. Fold the tail in to enclose the cut edge. Line up the fold you made in Step 3 with the now open crease of the fold made in Step 1. Press the fold with an iron.
Step 5. Refold the original fold made in Step 1 and admire your mitered end. This will be the start and end of your mitered pillow corner. Press the tape one more time just to secure it.
Placing the Tape Trim on your Pillow
Above, you’ll see a pillow front with the tape pinned in place. The mitered end we created is in the bottom left hand corner. For this pillow design, we wanted the tape to be 1 inch inside the edge of the finished edge of the pillow, so we pinned the tape 1 1/2 inches from the cut edge of our pillow front to allow 1/2 inch for a seam allowance.
Sewing the Tape Trim to your Pillow Front
The photo above shows the starting and ending corner. (Don’t let this picture confuse you – it’s actually a Roman shade, which is why the 1 1/2 inches of fabric to the left of the tape is missing.) Begin sewing at the double pins, leaving the mitered end unsewn so that you can hide the finishing end of the tape under your mitered end.The photo above shows the mitered end is not sewn yet. You’ll start sewing at the double pins. In this example, you’d start sewing at the double pins and sew up the left side of the tape.
So once you have your tape pinned in place around your pillow front, sew around the outside of the tape trim until you get to your first corner. Pivot at the corner and then continue sewing along the edge until you get to your second corner. Pivot again and sew that edge, pivot a third time and sew until you are 2″ from the last corner. Cut your tape about 1/2″ longer than the outer edge of your trim (look back at the double pin photo above for where to cut) and fold it under. Press the fold with an iron to make sure that it perfectly lines up with the outside edge of the mitered end. Sew the remaining 2″ of tape to the corner, line up and pin your starting mitered end down at the corner, pivot and sew back to the location of the double pins.
Now the outer perimeter of your tape trim is sewn down. Take your pillow over to the ironing board and give it a good press. Be careful to line up the mitered corners, keeping the inner corners lined up so that the inner perimeter of the tape is square.
To finish sewing the trim to the pillow front, sew around the inner perimeter and sew down each mitered fold individually.
Finished Pillow Front
Your pillow front is ready to be made into a finished pillow!
Example of a Finished Pillow
We’d love to help you with your next upholstery or drapery project. Contact us to get started!
Adding Trim to Your Upholstery and Drapery Projects
At Bridge, we’ve been adding tape trim to many projects. Greek key tape trim and twill tape have been very popular. We love the style these tapes add to our pillows and window treatments, so we thought we’d share a few of the projects with you.
Pillows with Greek Key Trim
Even a plain twill pillow is so much more interesting with Greek key trim. These 18″ pillows were embellished with khaki and lavender Greek key trim.
These pillows, made with Schumacher’s Bargello fabric, looked great with the addition of this khaki and cream Greek key trim.
Greek Key Design Using Twill Tape
In addition to using a Greek Key trim, you can create a Greek Key motif using twill tape. We used 2″ wide twill tape to embellish cream drapes and a coordinating upholstered cornice. Here’s a photo of the cornice before installation.
Here’s a bright and sunny photo of the installed drapes and upholstered cornice. The drapes were trimmed with a single stripe of twill tape 2″ from the inside edge. This window treatment added so much interest to this living room.
Roman Shades with Greek Key Trim
Roman Shades can also be embellished with tape trim. We made some fun Greek Key Trimmed Roman Shades for the living room of a Springfield home. You may have seen our article about the Dining Room Drapes in the same home. Our client chose the lavender and khaki Greek Key trim and we added it to her cream cotton twill Roman Shades. Here’s a great photo of the Roman Shade during construction.
Here’s a photo of one of the installed Roman Shades. We also enjoyed making a variety of patterned pillows and a window box cushion to coordinate with the Roman Shade.
These are just a few of the great uses for tape trim on pillows, Roman Shades, cornices and drapes. We hope we’ve inspired your creativity and helped you think of some trimmed projects for your home.
Contact Us at Bridge. We’d love to help you with your future upholstery and drapery projects.