 417-429-1243
 hello@BridgeWorkroom.com
Articles & Resources- old
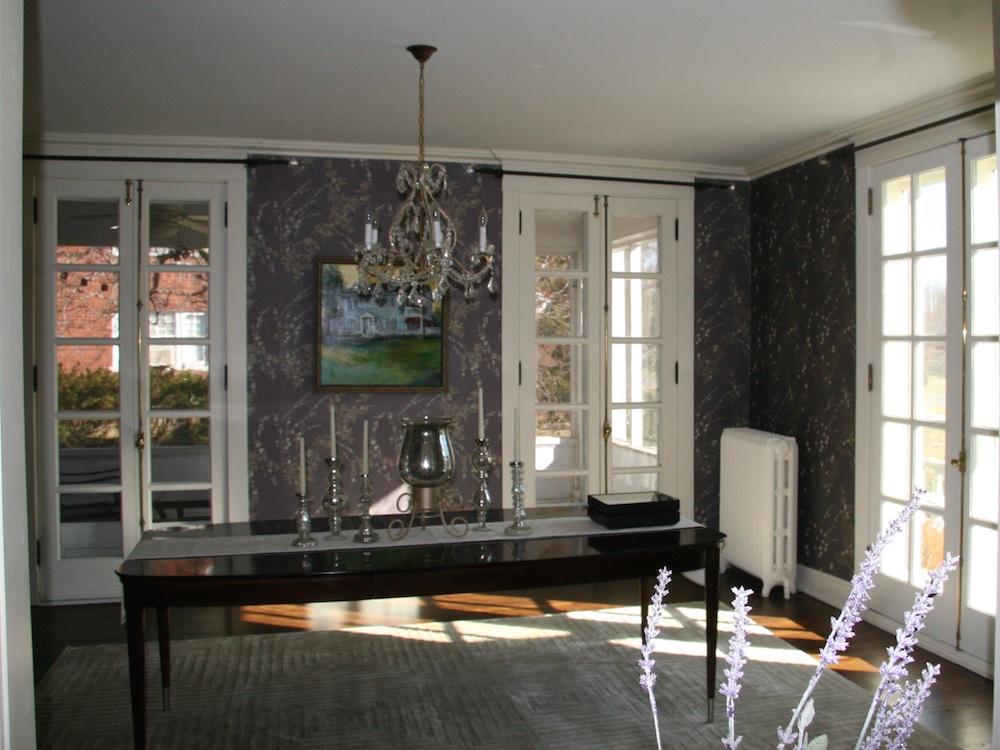
We recently participated in the redecorating project of a client’s formal dining and living rooms. We made beautiful new linen drapes for three french doors in her dining room and Greek Key trimmed Roman Shades for windows and french doors in her living room. I’ll explain a few of the basic design considerations for the dining room in this post. Stay tuned for details about the Living Room Roman Shades.
Initial Design and Planning for Vertical Repeat
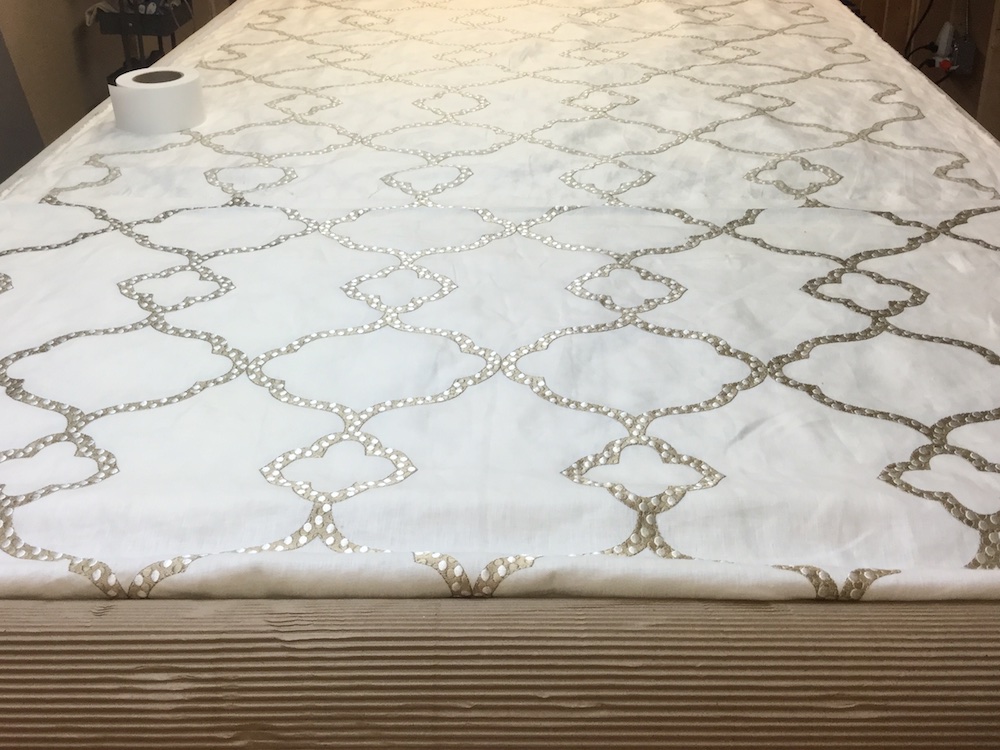
The client chose to use Thibault’s Gibraltar Embroidery Fabric. We rolled out the fabric and began to study the pattern and make some design decisions. The client chose to use her existing drapery hardware, so the drapery height was set at 100.5″. The fabric has a vertical repeat of 15.5. We know that we want each drapery panel to look the same at the top and bottom, so we will cut multiples of the fabric repeat. For a finished drape of 100.5″, we will need to cut each panel face fabric to 114.5″. This includes 6″ for the top hem and 8″ for the bottom hem plus 100.5″ for the drapery front. The top hem will be a 3″ double fold hem and the bottom hem will be a 4″ double fold hem. To make sure that the draperies always begin at the same place vertically, we need to cut multiples of 15.5 that are greater than 114.5″. We needed to cut panels every 124″ vertically and then remove the excess 9.5″ before hemming the top and bottom.
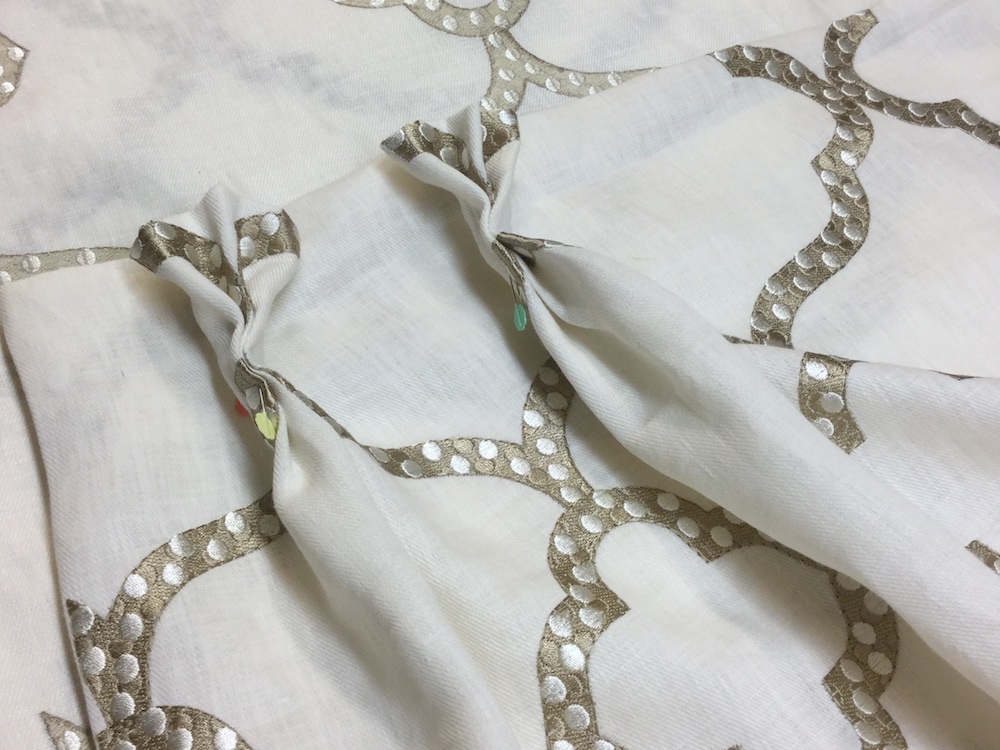
To determine the proper place to cut, we looked at the fabric and decided which part of the pattern would look best at the pleats in the top of the drapery. We made some mock pleats and decided to cut 6″ above the fold at the top of the pleats shown below. At this time, we also determined that we’d like to have this pattern on the front of each pleat. To align the pleats, we’d need to match our pleats and pleat spaces to the horizontal repeat of the fabric.
Planning for and finding Horizontal Repeat
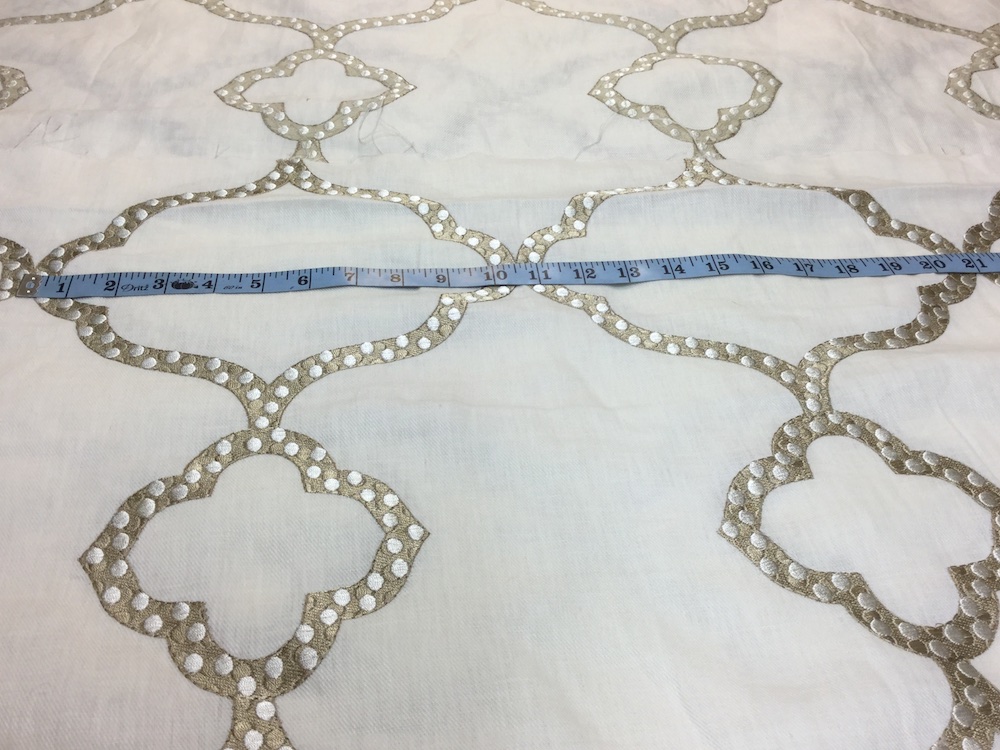
To find the horizontal repeat of the fabric, measure from the same spot on the fabric pattern to the same exact adjacent spot on the fabric pattern. In this case, the horizontal repeat of the fabric is 10.5″.
We constructed the drapery panel pleats to match the horizontal repeat of the fabric. As shown below, each pleat corresponds to the same section of the fabric pattern. We accomplished this by making the pleat space (the flat horizontal area between the pleats) and the pleats (the fabric folded up into the pleat) add up to the horizontal repeat. For example, if the horizontal repeat is 10.5″, and we know that 6″ is a good amount of fabric for pleats, then the pleat space needs to be 4.5″ to make the pleats align with the fabric pattern. This gave us a finished drapery width of 23″. This includes 2×2.5″ on each side and 4×4.5″ in pleat spaces. In this case, the client did not plan to close the draperies. Since they are stationary, the finished width did not need to be 1/2 the window width plus overlaps and returns on the sides. 23.5″ is a good width for decorative stationary drapery panels on these french doors.
Choosing Drapery Pleat Styles
After making five 6″ pleats, we chose 5 drapery panel pleat styles and sent them to our client for approval. The pleats are shown below and are from left to right: a cartridge pleat, a butterfly pleat, a triple euro pleat, a double pinch pleat and finally a triple pinch pleat.
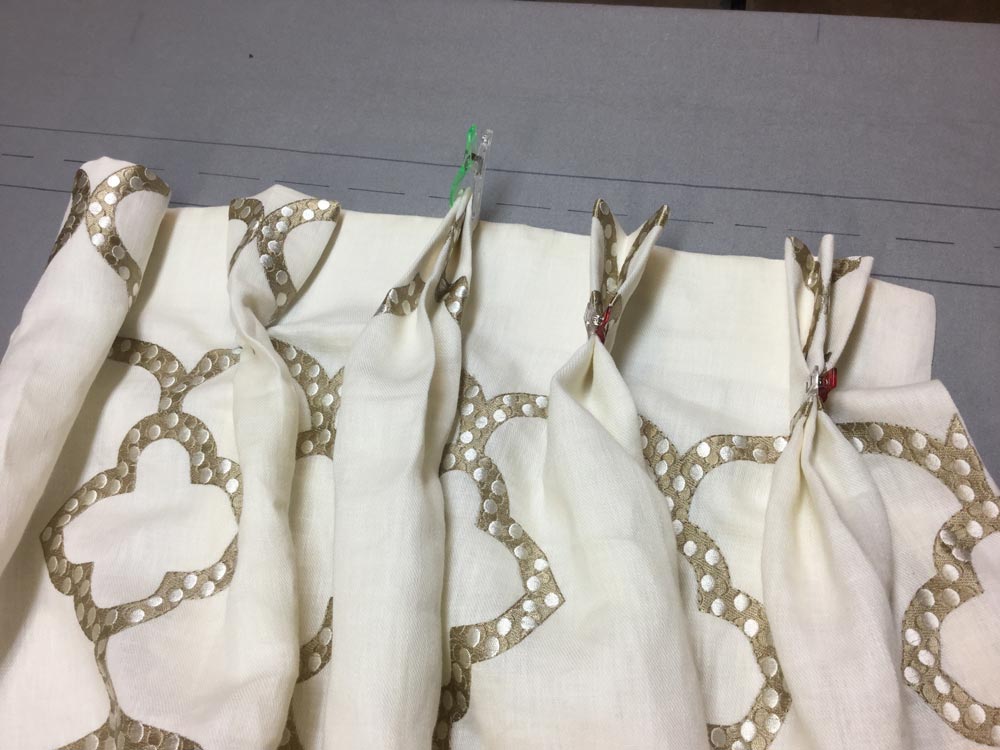
Our client liked both the butterfly pleat and the triple pinch pleat. We especially liked how the fabric pattern looked on the butterfly pleat, but after consideration of the client’s overall style, we chose the more traditional triple pinch pleat. We believe she’ll be happy with the triple pinch pleat for years to come.
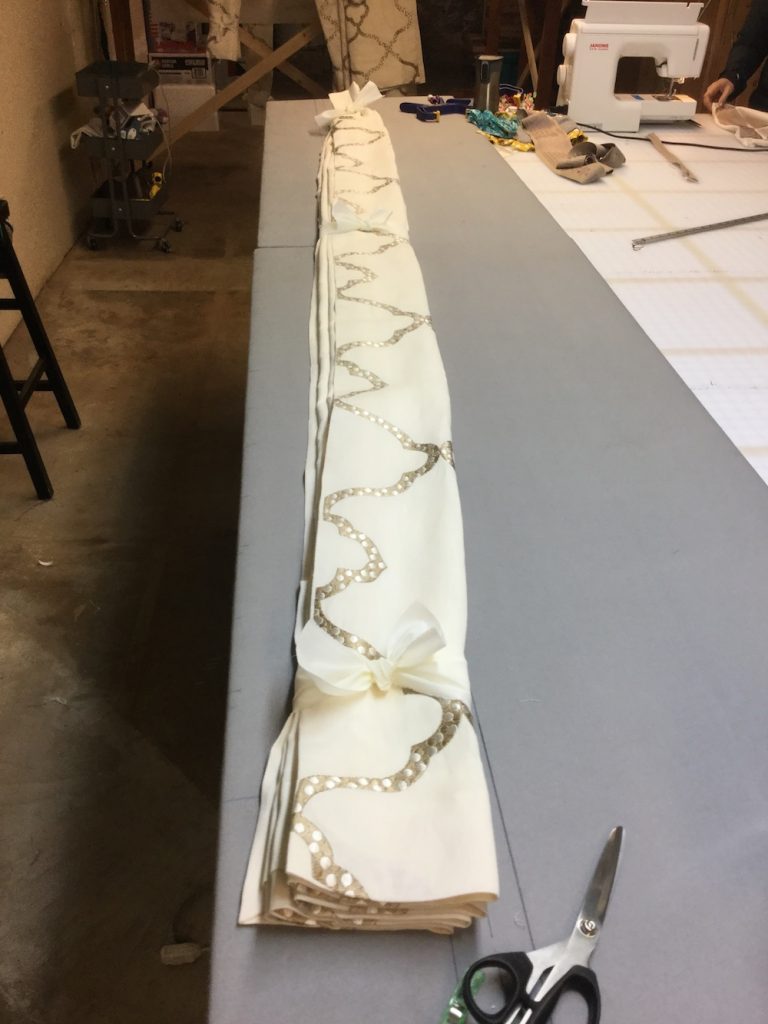
Pressing and Training Finished Drapes
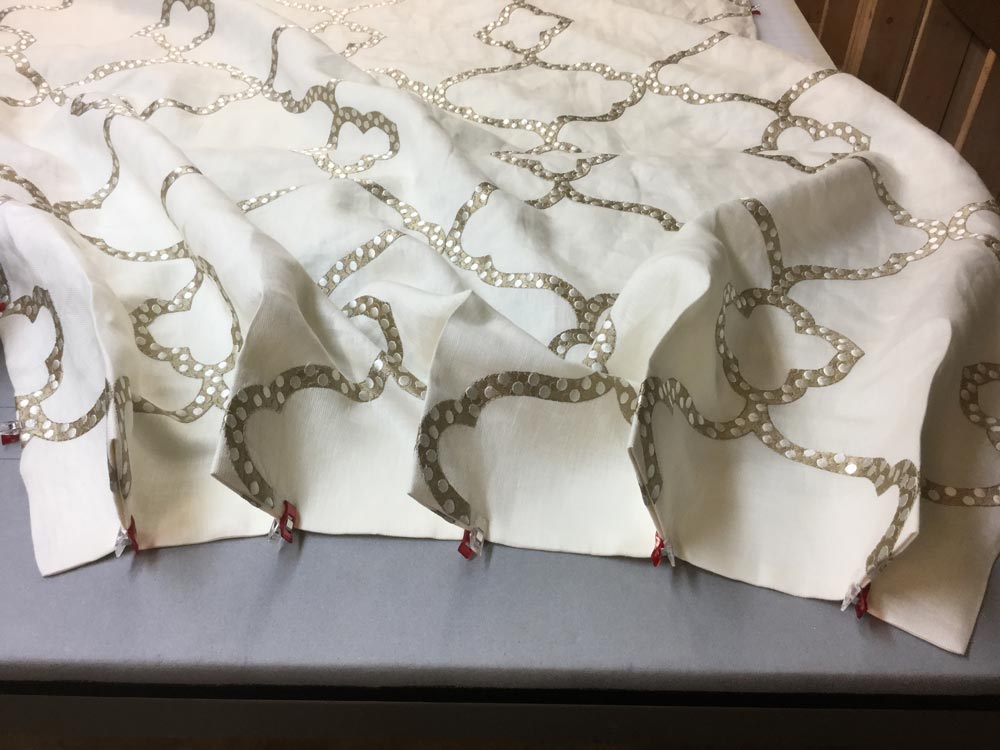
One additional very important step when dealing with linen draperies is pressing and training the drapes. As you can see below, we pressed the drapes and then loosely folded them and tied them for transport. The process of folding drapes and tying them so that they hang with folds at each pleat is called training. Linen drapes like these train (and wrinkle and crease) very easily, so we didn’t have to keep them tied up once they were installed. If you are constructing drapes with heavy velvet or damask fabric, you may need to leave them hanging with their ties on for a few days to get them to hang with a fold at each pleat.
Here they are trained and tied up to be delivered to our client’s home.
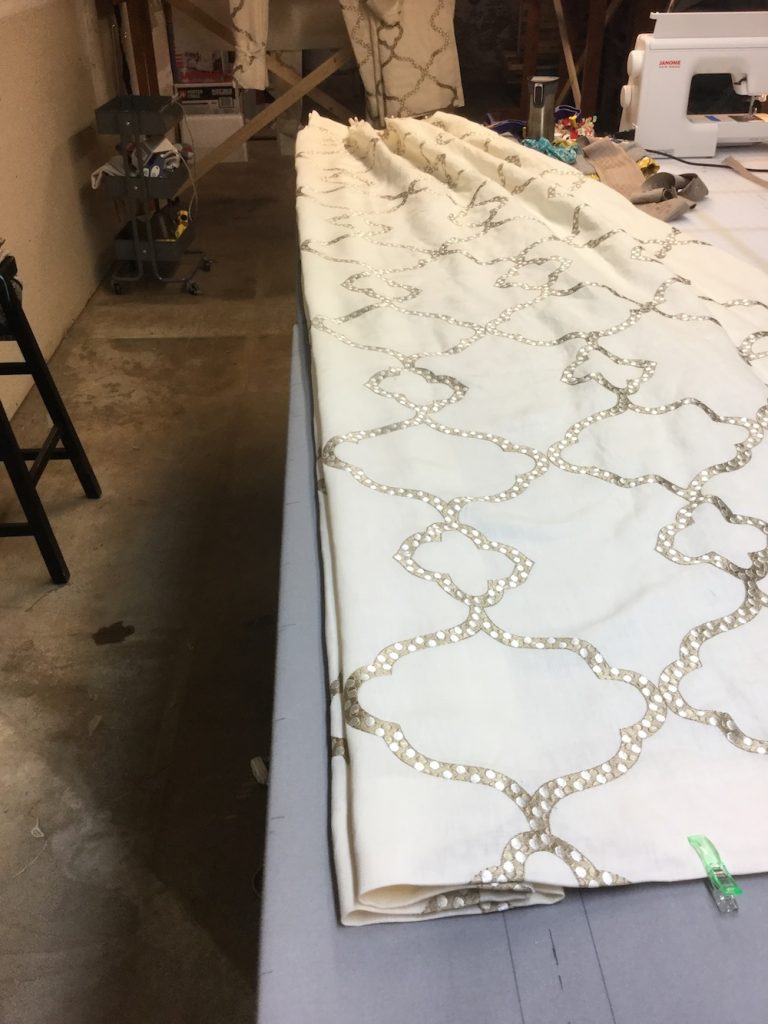
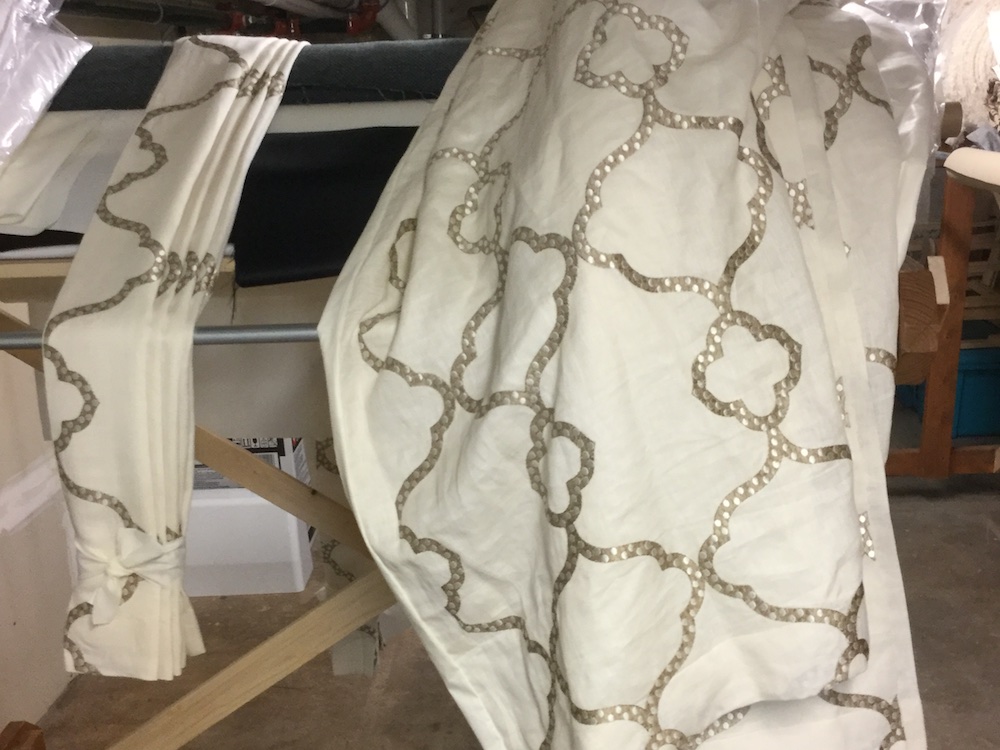
Look at the difference ironing and training can make! The drapes on the left are ready to go, the pile of draperies on the right haven’t been pressed yet. My mom always says that half of sewing is ironing – you can really see it here.
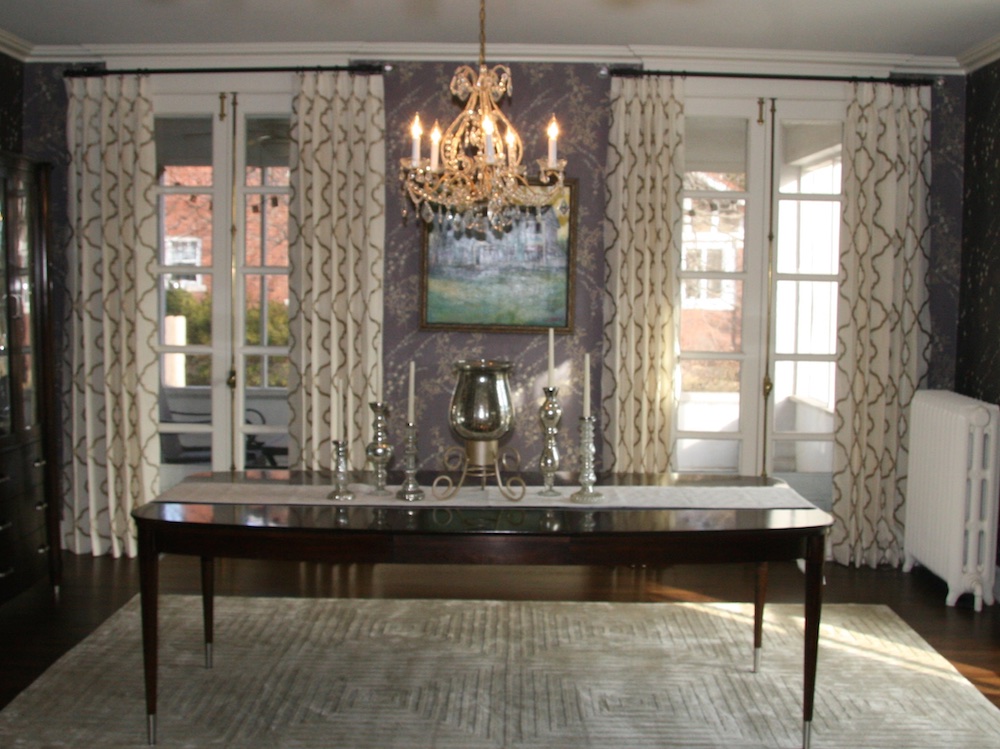
Installed Drapes
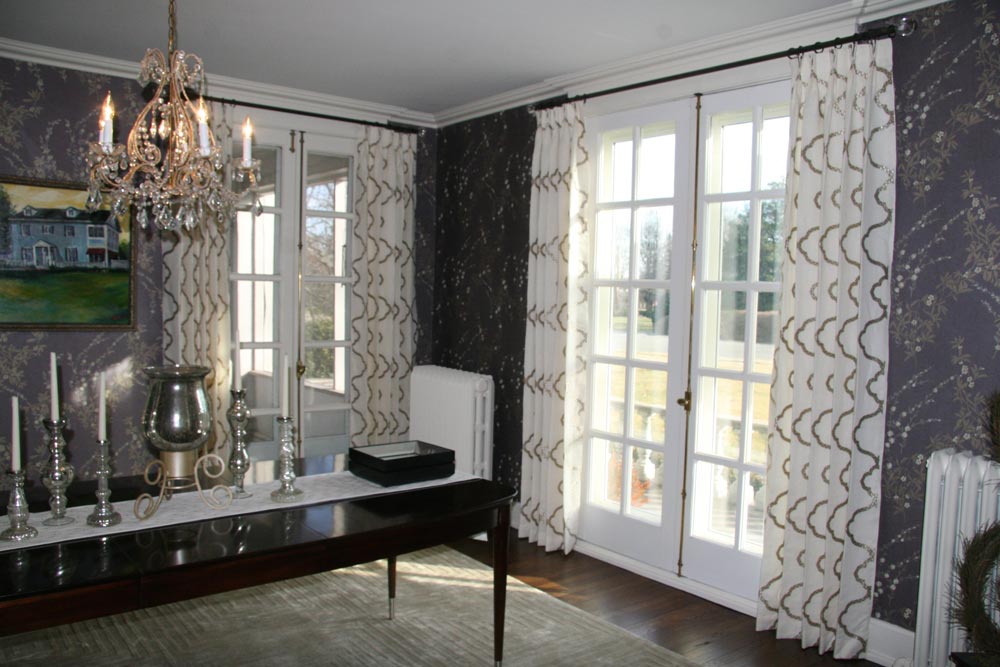
Here is a photo of the finished and installed dining room drapes. As you can see, they have been trained to hang perfectly with folds at each pleat.
We hope you have enjoyed reading about how to design draperies with patterned fabric! We’d love to help you with your next drapery design project. Please contact us for all your upholstery and drapery needs.

